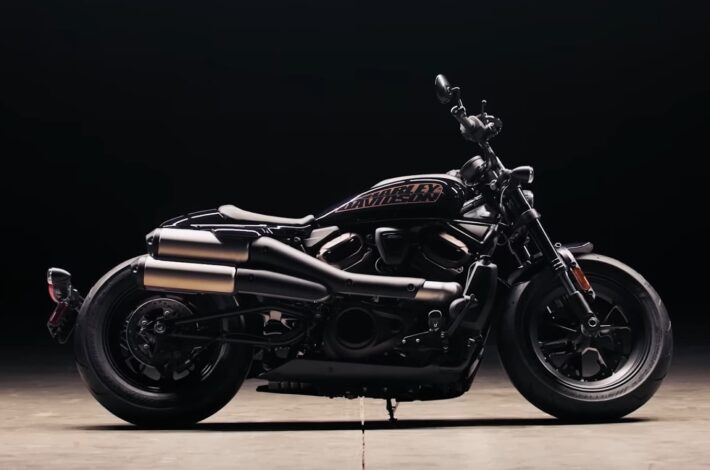
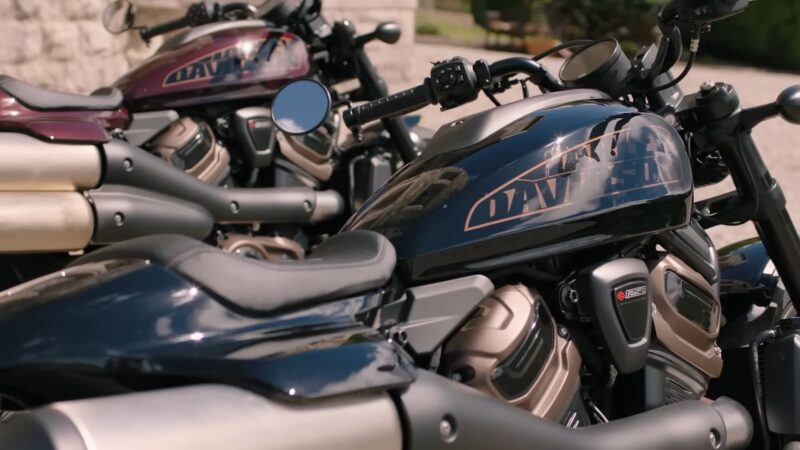
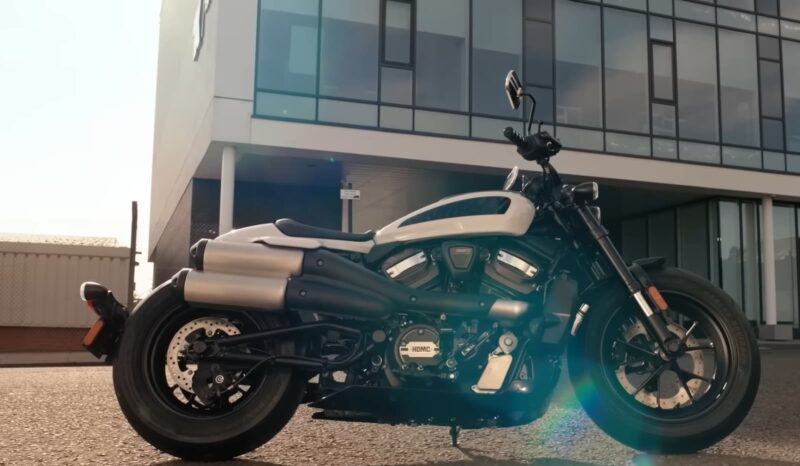
Explore our exhaustive tutorial on seamlessly tracking and upkeeping the primary oil levels in your Harley Davidson Sportster. This meticulously crafted handbook is your ally in ensuring your motorcycle operates at its peak performance effortlessly. The durability and overall health of your bike are largely contingent on regular upkeep, with a critical focus on monitoring the oil level.
Within this comprehensive tutorial, we aim to unpack the importance of maintaining the correct level of primary oil, the advantages it brings, the essential tools needed, and a systematic approach to prepare your Sportster for a comprehensive and secure examination.
Importance of Routine Primary Oil Checks for Harley Sportster
The significance of regular checks on the primary oil for your Harley Sportster cannot be overstated. This oil is crucial for ensuring the lubrication, cooling, and safeguarding of the bike’s transmission and clutch systems. Maintaining the correct levels of primary oil ensures that your motorcycle operates seamlessly and efficiently, greatly diminishing the likelihood of damage and degradation over time.
Neglecting the maintenance of primary oil can have dire consequences. Without proper attention, you might face issues such as clutch slippage and excessive gear noise, which are indicators of undue stress on the primary components. These problems not only degrade the performance and enjoyment of your ride but can also lead to substantial repair expenses in the future. It’s essential, therefore, to incorporate these checks into your routine maintenance schedule to preserve the health and longevity of your Sportster.
Advantages of Regular Primary Oil Level Monitoring
Regular oversight of the primary oil levels in your motorcycle brings forth numerous advantages:
- Boosted Motorcycle Efficiency: Consistent inspections guarantee that the crucial components of your Sportster are adequately lubricated, facilitating top-tier performance;
- Increased Durability of Parts: Proper maintenance of primary oil levels wards off undue wear on both the clutch and transmission parts, enhancing their longevity;
- Improved Gas Mileage: When parts are well-lubricated, gear shifting becomes smoother, and engine efficiency is maximized, leading to better fuel economy;
- Reduced Maintenance Expenses: Engaging in preventative care minimizes the risk of potential damages or malfunctions, thus averting costly repairs or part replacements.
Tools and Supplies Needed for Checking Primary Oil
When inspecting the transmission oil of your Sportster, ensure you have the following at hand:
- Allen Wrench Set: Useful for removing the inspection cover;
- Funnel: Needed for adding primary oil when required;
- Drain Pan: A pan to collect any spillage while inspecting;
- Shop Towels/Clean Rags: Used for cleaning up any spills;
- Primary Oil: Required to top off the oil level if needed.
Safely Preparing Your Sportster for Inspection
For a safe and effective inspection, follow these steps:
- Park your motorcycle on a level surface with sufficient lighting. Use a motorcycle lift or stand for better accessibility;
- Ensure the engine is turned off and is cool to prevent burns from hot parts;
- The bike should be kept upright (not on its kickstand) to get an accurate reading of the primary oil Harvey Sportster level;
- Clean the inspection cover area to remove any dirt or debris that might contaminate the primary oil.
Finding the Primary Oil Dipstick on Harley Sportster
On most Harley Davidson Sportster models, the primary oil dipstick, or level indicator, is located underneath the primary chain inspection cover on the bike’s left side. The primary chain inspection cover is typically located on the outer primary cover, in line with the bike’s footrest, near the engine’s centerline.
Dipstick Location Variations in Sportster Models
While the primary oil dipstick location on Harley Davidson Sportsters is mainly consistent across models, slight variations in location or appearance may occur based on the year and the specific model. It is vital to refer to your motorcycle’s owner manual or service manual for the exact dipstick location and any model-specific directions for checking the primary oil level.
A Guide to Checking the Primary Oil Level Correctly
To accurately check the primary oil level on your Harley Sportster, follow these steps:
- Use an Allen wrench to remove the screws securing the inspection cover and carefully lift off the cover;
- Before checking the level, make sure the motorcycle is in an upright position and not leaning on its kickstand;
- Inspect the visibly oil level inside the primary case; it should be close to the bottom edge of the clutch diaphragm spring or not exceed the midpoint between the bottom and top of the clutch plates;
- If the primary oil level is too low, use a funnel to slowly add more oil until the appropriate level is reached. Be careful not to overfill as it could lead to clutch slippage and reduced performance;
- Wipe off any excess oil using a clean rag and replace the primary chain inspection cover using an Allen wrench;
- Finally, verify that the cover is securely fastened and ensure there are no oil leaks.
Common Mistakes to Avoid During Inspection
Avoid these blunders when inspecting your Harley Davidson Sportster’s primary oil level:
- Not cleaning the inspection cover area properly can lead to contamination of the primary oil by dirt or debris;
- Checking the oil level while the bike is on its kickstand can provide inaccurate readings;
- Overfilling the primary case with oil could lead to problems like clutch slippage;
- Using the wrong kind of oil or substituting with non-recommended alternatives. Always refer to your owner’s manual for the correct oil specifications;
- Failing to securely fasten the inspection cover after the inspection can lead to oil leaks.
By following these steps and avoiding these common mistakes, you’ll ensure that your primary oil change sportster level is accurately checked.
Assessing Whether The Primary Oil Level is Adequate
To confirm if the primary oil level is optimal on your Harley Davidson Sportster, follow these pointers:
- Make sure the motorcycle is upright and not leaning on its kickstand;
- Remove the primary chain inspection cover, as previously explained;
- Look at the visible oil level inside the primary case;
- The oil level should be close to the bottom edge of the clutch diaphragm spring or not exceed the midpoint between the bottom and the top of the clutch plates;
- If the oil level complies with these guidelines, it’s deemed satisfactory. Top up the oil or drain excess as required.
Understanding What a Low or High Oil Level Indicates
A low or high oil level may indicate the following:
- Low Oil Level: This might be due to oil leaks, insufficient oil added during the last filling, or a prolonged use period without maintenance. It could cause increased friction, overheating, early wear, and potential harm to primary components. Signs of a low oil level include abnormal mechanical noise, difficulty in gear shifting, and clutch slippage;
- High Oil Level: Overfilling the primary oil could result in clutch slippage, reduced performance, and oil leaks. It may be caused by adding too much oil during the last filling or incorrect measurement.
Determining When to Change the Primary Oil
The recommended interval for changing the primary oil on your Harley varies based on your Sportster’s model, usage, and riding conditions. Generally, it’s advised to change the primary oil every 5,000 to 10,000 miles or as specified in your owner’s manual.
However, consider changing the oil sooner if:
- You regularly ride your Sportster in extreme conditions like dusty, wet, or high-temperature environments;
- You notice changes in the oil’s color, texture, or smell;
- The clutch or transmission parts exhibit excessive wear signs.
The Process of Changing Primary Oil on Your Sportster
To perform a primary oil change on your Harley Davidson Sportster, follow these steps:
- Gather the necessary tools and supplies: Allen wrench set, drain pan, funnel, primary oil, and clean rags or shop towels;
- Position the bike on a level surface in the upright position (preferably using a lift or stand);
- Locate the primary drain plug (usually at the bottom of the primary cover) and position a drain pan beneath it;
- Use an Allen wrench to remove the drain plug, allowing the primary oil to drain completely into the drain pan;
- While the oil is draining, remove the primary chain inspection cover;
- Visually inspect the clutch and primary chain components for wear or damage, replacing any parts as necessary;
- Replace the primary drain plug, ensuring a proper seal to prevent future leaks;
- Using a funnel, refill the primary case with the specified amount and type of primary oil (check your owner’s manual for recommendations);
- Check the primary oil level, as described earlier;
- Replace the primary chain inspection cover, ensuring a secure fit;
- Start your Sportster and let it idle for a few minutes, checking for any leaks and proper operation.
Remember to dispose of the used primary oil appropriately as per your local regulations. By adhering to these steps, your Harley Davidson Sportster’s primary oil will maintain the perfect level for smooth operation and performance.
Frequent Problems Encountered While Checking Primary Oil
While checking primary oil, you may come across the following challenges:
- Oil Contamination: The presence of dirt, debris, or metal shavings in the oil may indicate underlying mechanical issues;
- Difficulty Removing the Inspection Cover: Stuck or corroded screws might make removing the cover challenging;
- Oil Leaks: Drips or puddles of oil underneath the bike could suggest problems with the primary cover seals or gaskets;
- Difficulty Reading the Oil Level: The color and consistency of the oil might alter the visibility of the actual oil level.
Should you encounter these issues, you might want to consider seeking professional assistance.
Optimal Care: Sportster Primary Oil Best Practices
Follow these best practice guidelines to ensure your Sportster’s primary oil remains in excellent condition:
- Regular Oil Changes: Change the primary oil based on your owner’s manual specifications or every 5,000 to 10,000 miles;
- Use High-Quality Oil: Opt for oil specially formulated for Harley Davidson Sportsters to ensure a smooth ride;
- Routine Checks: Regularly inspect for oil leaks and measure the oil level;
- Maintain a Clean Environment: Clean your bike and work area before performing an oil check or change to avoid contamination;
- Proper Storage: When not in use, ensure your Sportster is stored properly to avoid excess moisture, which can contaminate your primary oil.
Recommended Frequency for Primary Oil Maintenance
To ensure the optimal performance and longevity of your Sportster, regular monitoring and maintenance of the primary oil are essential. Developing a consistent routine to inspect the primary oil level plays a pivotal role in maintaining your motorcycle’s health. It is advisable to perform these checks at predefined intervals, such as every 1,000 miles, or before embarking on extended rides. This proactive approach aids in identifying potential issues before they escalate into more significant problems.
When it comes to the maintenance and replacement of the primary oil, adhering to the recommendations provided in your owner’s manual is paramount. Typically, it is suggested to change the primary oil every 5,000 to 10,000 miles. Nonetheless, it’s important to understand that this interval may need adjustment based on a variety of factors. Riding conditions play a significant role; for instance, frequent rides in harsh or demanding environments may necessitate more frequent oil changes. Additionally, any unusual noises emanating from the engine compartment should prompt an immediate check, as these could indicate a need for earlier maintenance. Changes in the oil’s appearance, quality, or level are also key indicators that maintenance is due.
Conclusion
Always rely on the finest options for your beloved possession. It’s always wiser to prevent issues than to deal with them later, hence, regularly monitor the primary oil quality of your Sportster. By doing so, you ensure that your rides are consistently smooth, powerful, and worry-free, allowing you to enjoy every moment to the fullest.